
Best the brewer pick

Best the brewer pick
If you want to know how to use an AeroPress, here is the core workflow: place the brew chamber on a sturdy mug, drop in a rinsed paper filter, add 17 grams of medium-fine ground coffee, pour hot water (195–205°F) to your target weight, give it a quick stir, let the coffee steep for about one minute, then press the plunger down slowly until you hear a gentle hissing sound. The AeroPress brews coffee in about one minute of contact time, and the full process from prep to sip takes roughly three minutes.
You can also use the inverted method for longer contact time and a richer cup, but the classic upright method is the safest and simplest starting point. No barista skills required. All you need is fresh coffee beans, hot water, and a few minutes of attention.
The AeroPress coffee maker is a manual immersion brewer that uses gentle air pressure to push water through a small circular filter. Engineer Alan Adler invented it in 2005 after building over 30 prototypes, aiming to reduce acidity and bitterness in home-brewed coffee. The device debuted at CoffeeFest Seattle that same year.
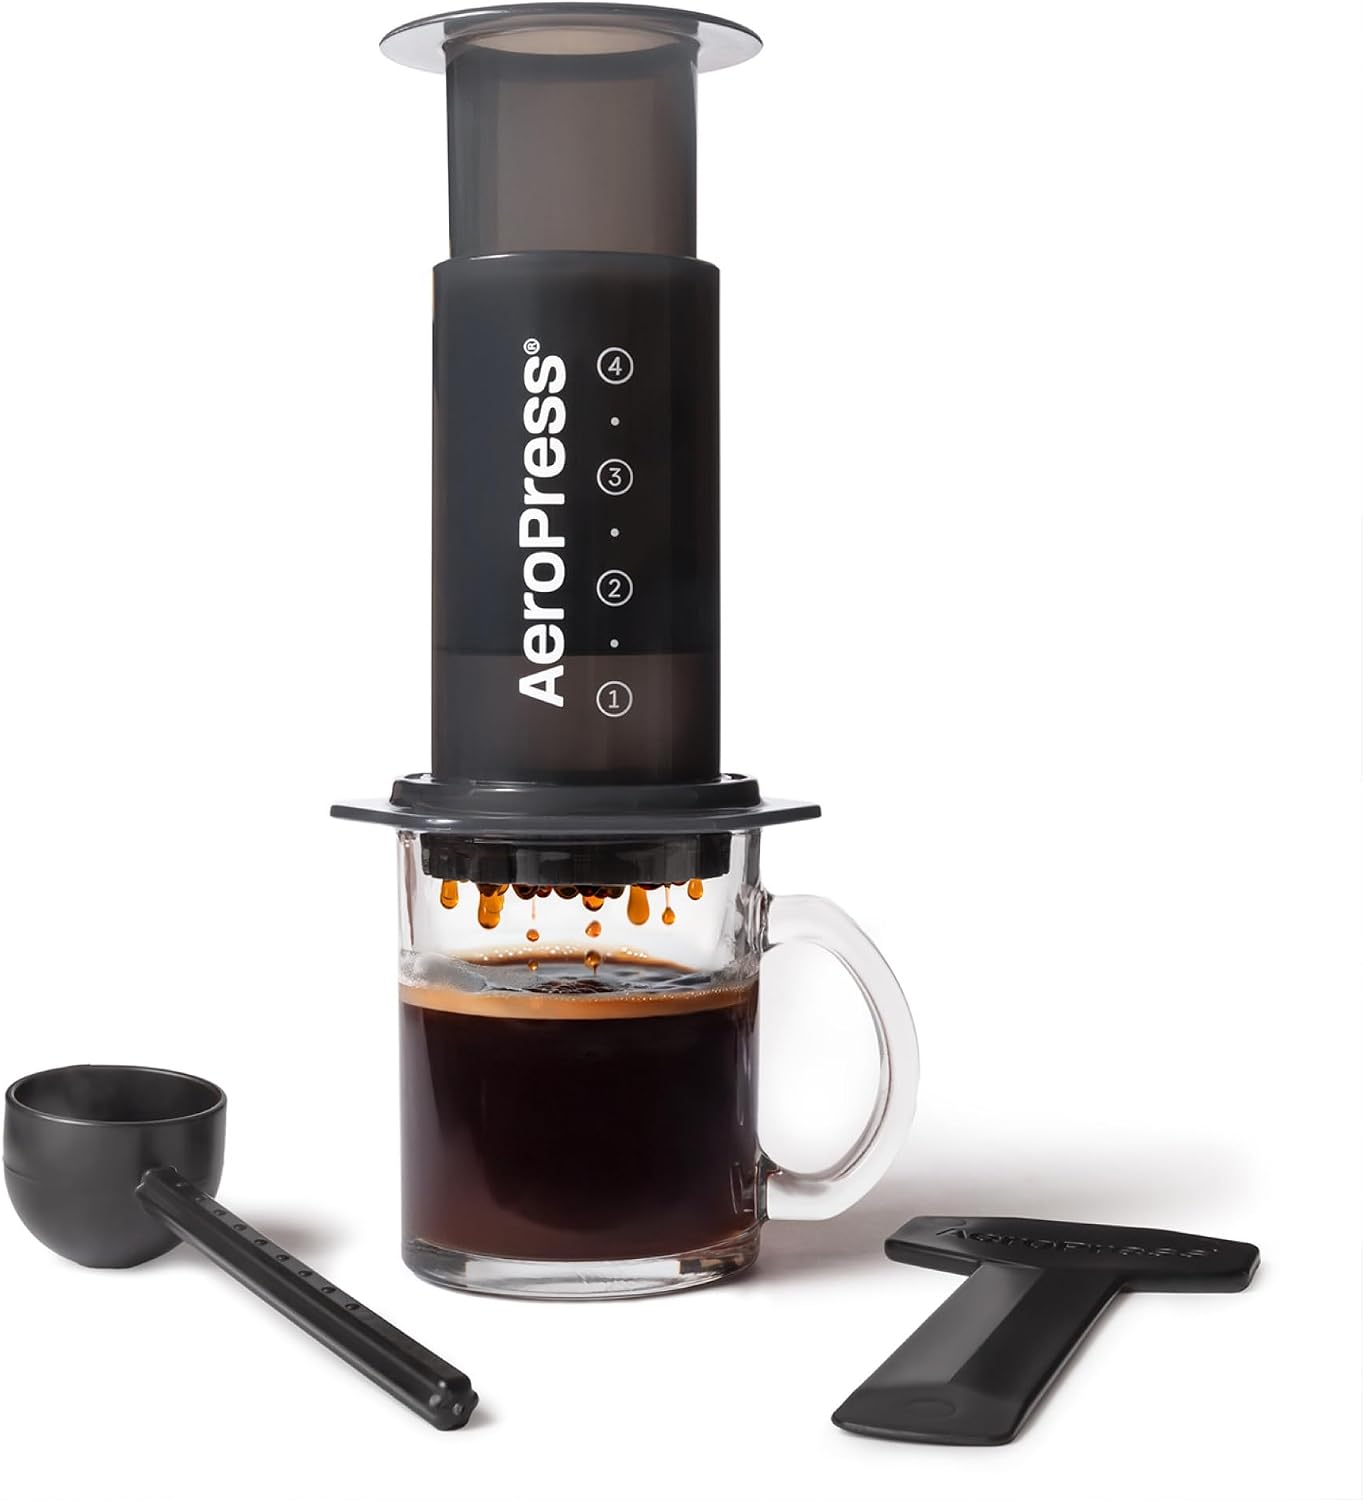
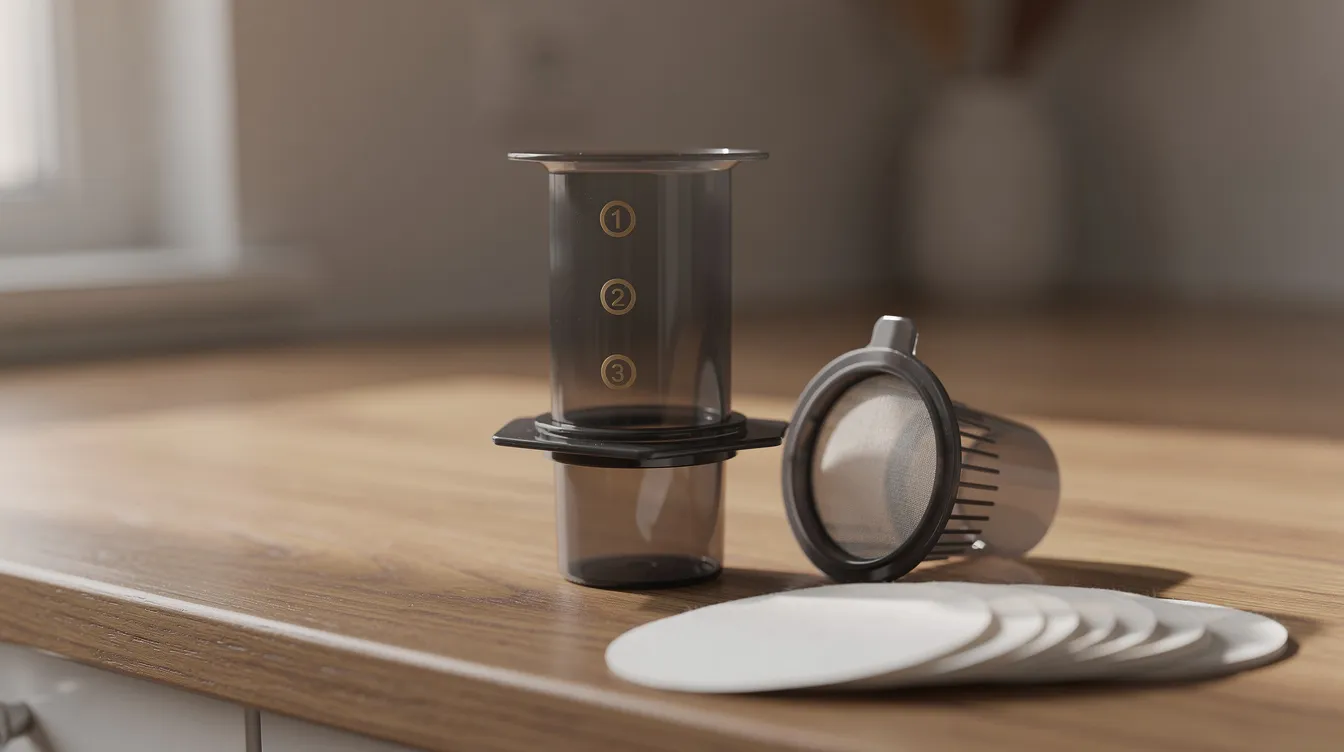
The core design is simple: a plastic chamber, a plunger with a rubber seal, a filter cap that holds either AeroPress paper filters or an optional metal filter, and a capacity of about 240 ml per brew. All materials are BPA-free and impact-resistant, though the plastic body loses heat faster than metal or ceramic brewers. Preheating the chamber with hot water before brewing helps offset this.
AeroPress coffee produces a clean, sweet cup with more body than pour over but less sediment than French press. The paper micro-filter catches oils and fine particles that would otherwise cloud the cup or add grit. Cleanup takes seconds: pop out the compressed puck of coffee grounds, rinse the chamber and plunger, and you’re done.
Portability is a major draw. The AeroPress weighs a few ounces, fits into a backpack, and brews a full cup in under three minutes. That makes it a favorite brewing method for hotel rooms, offices, and camping trips.
Before you brew coffee with an AeroPress, gather these items:
Optional tools that improve consistency:
The AeroPress Go includes a built-in travel cup and has a slightly smaller capacity, but uses the same coffee brewing principles as the Original.
A short affiliate disclosure appears before the gear recommendations section below. All product suggestions in this guide are based on researched editorial analysis, not hands-on testing.
Brew ratio, grind size, and water temperature interact with contact time to determine how your AeroPress coffee tastes. AeroPress brewing is flexible regarding ratio, grind size, brew time, stirring, water temperature, and water quality, but starting with tested defaults saves trial and error.
Ratio: Use 17 grams of coffee grounds to about 270 grams of water for a 1:16 brew ratio. For a stronger concentrate (Americano-style), tighten the ratio to 1:10–1:13 and dilute with more water after pressing. For a lighter, tea-like cup, move toward 1:17–1:18.
Grind size: Medium-fine, slightly finer than sea salt but coarser than espresso. A finer grind increases body and sweetness but risks over-extraction (bitterness) and harder pressing. A coarser grind can taste weak or sour.
Water: Use fresh, filtered water. Filtered water generally improves the quality of coffee brewed in an AeroPress. Target 195–205°F (about 90–96°C). For light-to-medium roasts, brewing temperature of 85°C to 93°C extracts well without scorching delicate flavor notes. AeroPress’s manufacturer recommends 175°F for darker roasts and 185°F for medium and light roasts, though many recipes push higher. A simple method: let boiling water rest 30–45 seconds off the heat before pouring.
Filtration: A paper filter removes oils and fines for a cleaner cup. A metal filter allows more oils through, adding body and texture but also some sediment. Experiment once the basics feel comfortable.
The standard method is the most straightforward way to brew AeroPress coffee and the best place for beginners to start. It is simpler and less messy than the inverted approach. AeroPress brewing time is about one minute for the standard method.
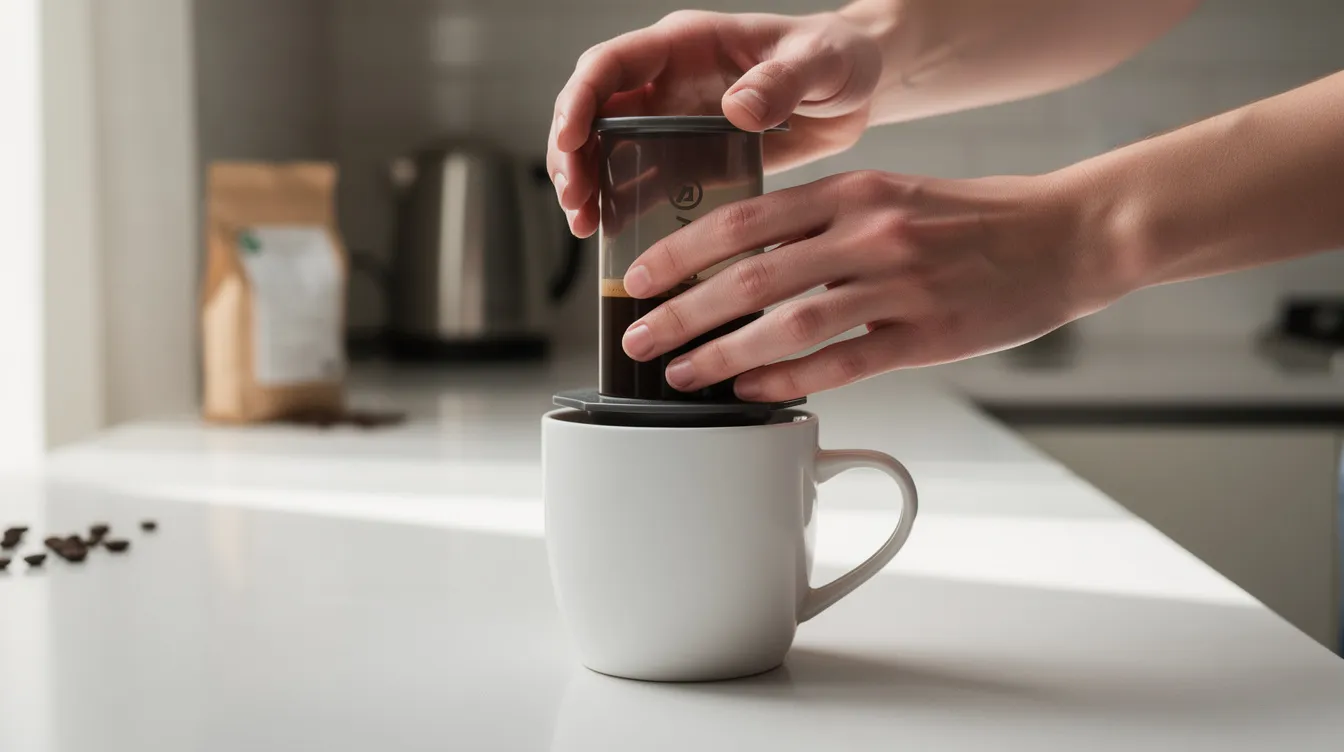
Total brew time from pour to press is about two minutes. Full workflow, including setup and cleanup, runs three to four minutes. Hold the AeroPress firmly while pressing, keep the mug on a stable surface, and press straight down to avoid tipping.
The inverted method flips the AeroPress upside down so the open end faces up, which allows steeping coffee without early dripping. The inverted method allows full control over steep time and enhances flavor extraction for richer coffee.
The inverted method often produces a cup with richer body and more intense flavor due to longer, uninterrupted immersion. The tradeoff: there is a small spill risk if the brewer is bumped during steeping. Avoid filling water above the “4” mark, and always flip over a stable surface.
A well-brewed AeroPress cup is aromatic, balanced in sweetness, moderate in body, and clean on the finish. AeroPress produces a clean, sweet cup of coffee with little to no visible sediment when using a paper filter.
Visually, the cup should look clear but not thin; a slight color density indicates proper extraction. Crema-like foam is minimal unless you use very fresh, darker roasts or a metal filter.
Taste benchmarks for proper extraction: pleasant sweetness, developed flavors, acidity that reads as bright rather than sharp, and minimal bitterness. If your coffee tastes sour, thin, or grassy, it is under-extracted. If it tastes dry, harsh, or hollow, it is over-extracted.
Different coffee beans shift the profile. Light roasts tend toward citrus or floral flavor notes. Medium roasts bring chocolate and nut tones. Darker roasts lean into smoky, caramelized, or roast-toned flavors. Each roast level responds to slight adjustments in grind size, water temperature, and brew time.
AeroPress brewing is forgiving, and most issues resolve with a single adjustment to grind, ratio, or contact time.
Capitol City Coffee may earn a commission from some links in this section. Rankings are based on researched editorial analysis of expert and user consensus. No hands-on tasting was performed for this guide.
The AeroPress brew method highlights a wide range of beans, but light to medium roasts are ideal for AeroPress because they showcase complex origin flavors through the clean filtration. Using fresh coffee beans roasted within the past two to four weeks enhances the flavor and aroma of every brew.
Light single-origin washed Ethiopian. Expect citrus, stone fruit, and floral flavor notes. Best with a 1:16–1:17 ratio and water around 200°F. These beans tend to cost $16–$22 per 12 oz bag from specialty roasters. Drawback: seasonal availability and higher price.
Medium-roast Latin American blend. Chocolate, nut, and caramel tones. A forgiving, everyday option that works in both classic and inverted methods. Widely available online and at local roasters, typically $12–$18 per bag. Fewer complex high notes than single-origin light roasts.
Medium-dark espresso blend. Rich, roast-toned flavors that stand up to milk or work as an Americano-style drink. Use a tighter ratio (1:12–1:14) and dilute after pressing. These blends can mask origin character, so they suit people who prefer a bolder, more full-bodied cup over delicate acidity.
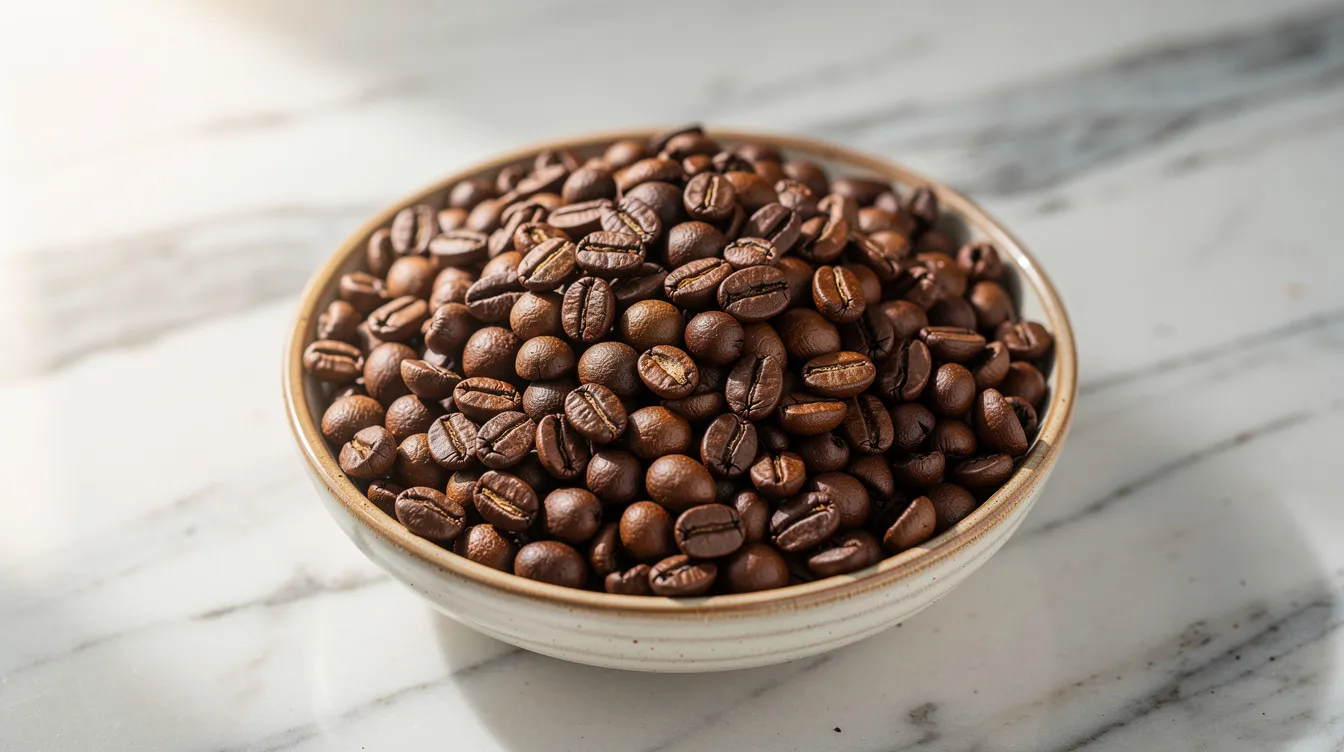
If buying pre ground coffee, ask for a medium-fine grind and store the bag in an airtight container in a cool, dark coffee place. Grinding just before brewing always produces better results.
These suggestions are based on researched editorial analysis and widely cited performance data, not personal ownership or testing by Capitol City Coffee.
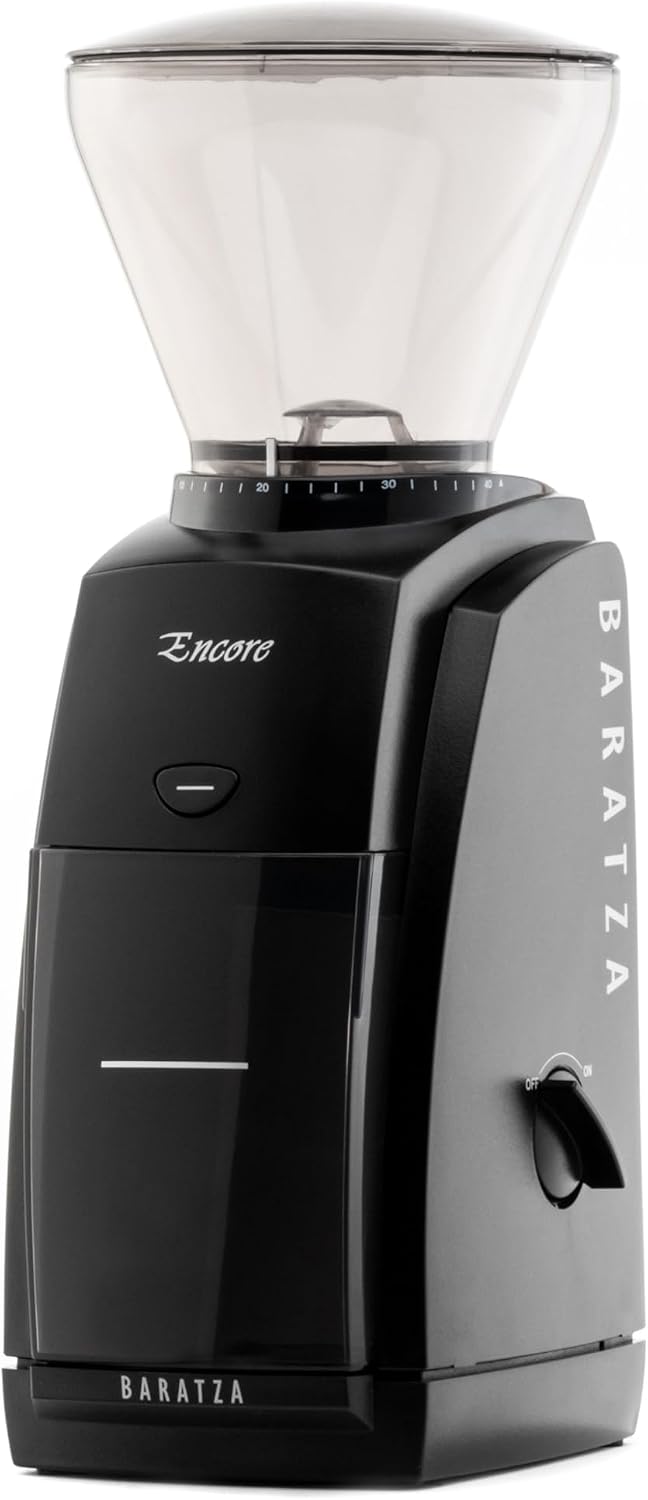
Burr grinder. Using a burr grinder produces a more consistent grind than a blade grinder, which translates to smoother pressing and more even extraction. Entry-level manual burr grinders ($30–$60) work well for AeroPress; electric models ($80–$150) add convenience. Look for easy cleaning and low retention.
Digital scale. A basic kitchen scale with 1-gram resolution ($10–$20) removes guesswork from your coffee measure and water weight. This one upgrade makes every brew repeatable.
Kettle. Any kettle works. A variable-temperature electric kettle ($30–$60) lets you dial in exact temperatures. A gooseneck kettle adds pour control if you experiment with pour-over-style AeroPress recipes.
Optional accessories. A metal filter adds body and eliminates paper waste, but requires coarser grinds and more cleanup. Pressure-enhancing caps (like a Prismo-style attachment) let you experiment with espresso-like AeroPress brew concentrates. A travel case keeps everything organized for trips.
None of this gear is required to brew a great cup of coffee. The goal is consistency and convenience, not complexity.
One of the AeroPress’s strengths is how little maintenance it demands. After each brew: remove the filter cap, push the puck of coffee grounds and the paper filter into trash or compost, and rinse the chamber and plunger with warm water. Rinse the AeroPress plunger after each use to prevent oil buildup.
The AeroPress is top-rack dishwasher safe, but hand-washing with mild soap is faster and gentler on the rubber seal. For a deeper clean every few weeks, pull the rubber seal off the plunger, wash all parts with mild unscented soap, and check for built-up coffee oils.
For long-term care: avoid abrasive scrubbers, do not store the plunger compressed inside the chamber (this deforms the seal over time), and inspect for cracks or hardened rubber after years of use. Replacement seals are inexpensive and widely available.
The AeroPress sits between pour over and French press in the coffee brewing landscape.
AeroPress | Pour Over | French Press | |
|---|---|---|---|
Filtration | Paper or metal filter | Paper filter | Metal mesh |
Body | Moderate | Light to moderate | Heavy |
Sediment | Minimal (paper) | Minimal | Noticeable |
Brew time | 1–2 minutes | 3–4 minutes | 4–5 minutes |
Capacity | Single cup (~8 oz) | 1–4 cups | 2–8 cups |
Portability | High | Moderate | Low |
AeroPress and pour over both produce clean cups through paper filtration, but AeroPress is faster and more portable. Pour over is better for brewing multiple cups with ultra-clear flavor.
AeroPress and French press are both immersion methods, but the AeroPress filter catches oils and fines that a French press mesh lets through. The result: a less gritty, cleaner cup from AeroPress, and a heavier, more full-bodied cup from French press.
You can also use AeroPress to make iced coffee by brewing a concentrate over ice, or experiment with cooler water for a cold-brew-style cup.
These answers cover common AeroPress questions not fully addressed in the sections above.
The AeroPress is designed for single-serve brewing. To serve two people, brew a stronger concentrate using a 1:10–1:12 ratio with 17 grams of coffee and less water, then divide the AeroPress brew between two mugs and dilute each with hot water. For frequent multi-cup needs, a batch drip brewer or a French press handles volume more efficiently.
The AeroPress materials can handle boiling water, but brewing with boiling water can scorch delicate coffee beans. Most experts recommend letting water cool to 195–205°F before you add water to the chamber. After the kettle reaches a boil, wait about 30–45 seconds before pouring. This protects sweetness and reduces harsh bitterness from over-extraction.
Pre ground coffee works and is better than skipping your morning cup entirely. Ask your roaster for a medium-fine grind and store the bag in an airtight container away from heat and light. Pre-ground loses aromatic compounds faster than whole bean, so use it within a week or two of opening. A basic burr grinder is a worthwhile upgrade for anyone who brews regularly and wants control over grind size.
With typical home use and basic care, the plastic body lasts for years. The rubber plunger seal is the main wear item. Signs it needs replacing: water leaking past the plunger, visible cracking, or a hardened feel. Replacement seals cost a few dollars and are available directly from the manufacturer. The AeroPress makes a durable, long-term investment compared with many other coffee makers.
The AeroPress coffee maker is a small plastic device with no blades, electronics, or liquids, so it clears carry-on screening in most cases. Pack it clean and dry. Keep coffee grounds in a sealed bag (checked or carry-on depending on local rules) and follow TSA and airline-specific regulations. The AeroPress Go is particularly convenient for travel; its compact design and included mug make it easy to brew a delicious cup on the road.
Start with the classic method, 17 grams of coffee, and a 1:16 ratio. Adjust one variable at a time; grind size, water temperature, or steep time; until you find the perfect cup that fits your taste. Once the basics feel natural, try the inverted method or experiment with concentrate brews. Each AeroPress makes it easy to explore new recipes without risking a bad pot.
Every coffee and coffee machine we recommend is scored on the same 100-point scale, so a recommendation on one page means the same thing as a recommendation on any other. Each pick is also labeled with how we reached its score.
| What we score | Points | What we look at |
|---|---|---|
| Origin and sourcing transparency | 20 | Country, region, farm or cooperative, altitude, bean variety, and processing method are clearly disclosed. |
| Flavor evidence | 25 | Independent cupping scores, how closely the tasting notes match what the origin is known for, and our own cupping notes when hands-on tested. |
| Roast and freshness | 15 | Roast level stated, roast-date practices, whole-bean availability, and packaging with a one-way valve or resealable bag. |
| Brew versatility | 15 | How well the roast suits pour-over, drip, French press, cold brew, and espresso. |
| Value | 15 | Price per ounce compared with similar single-origin coffees or blends. |
| Buyer feedback | 10 | Volume and consistency of verified reviews, and recurring complaints about staleness, bitterness, or shipping. |
| What we score | Points | What we look at |
|---|---|---|
| Brewing performance | 25 | Water temperature in the 195–205°F range, even extraction, and SCA certification or published test data. |
| Build quality and reliability | 20 | Materials, known failure points, and long-term owner reports. |
| Ease of use and cleaning | 15 | Setup, the daily routine, descaling, and dishwasher-safe parts. |
| Fit for your kitchen | 10 | Capacity, counter footprint, and noise. |
| Useful features | 10 | Programming, grind and temperature control, and carafe type. Features that improve the cup count more than extras that do not. |
| Value | 10 | Price compared with machines that perform similarly. |
| Warranty and support | 10 | Warranty length, parts availability, and how the brand handles repairs. |
| Score | Grade | What it means |
|---|---|---|
| 90–100 | A | Exceptional. Our first recommendation for the feeling and setting described. |
| 80–89 | B | Strong. Excellent, with minor trade-offs we explain. |
| 70–79 | C | Good. Worth it for specific needs, with clear compromises. |
| Below 70 | — | Not recommended. We do not feature these as picks. |
When a pick carries the Hands-on tested label, this is the method behind it, and we note the date we tested.
We match each coffee to a mood and a moment based on its flavor profile and roast. Bright, citrusy light roasts suit energizing mornings. Chocolatey, full-bodied medium roasts suit slow or social moments. Richer roasts suit espresso and milk drinks. Each pick explains which facts led us to that match.
Every score comes only from the criteria above. No brand can pay for a pick or a higher grade. We re-check ratings when a roast, listing, or model changes, and update or remove picks that no longer earn their grade.
Some links on this page are affiliate links. As an Amazon Associate, Capitol City Coffee earns from qualifying purchases, at no extra cost to you.
Questions about a rating? Reach the Capitol City Coffee team through our contact page.