

Coffee brewing basics come down to four controllable variables: brew ratio, grind size, water quality and temperature, and contact time. Master these, and you can reliably brew better coffee at home with whatever equipment you already own. This page is your starting point – no barista certification required.
Key Takeaways
- Coffee brewing basics means learning to control ratio, grind size, water, and time so you can make coffee that tastes consistently good at home.
- Small, repeatable changes to dose, grind, and contact time matter more than expensive gear. You can brew great coffee with a basic drip coffee maker if the fundamentals are dialed in.
- Good water quality, fresh coffee beans, and a grind size matched to your brewing method are non-negotiable fundamentals for every cup of coffee.
- Capitol City Coffee is an independent coffee editorial and affiliate publication. We provide researched analysis – we do not sell coffee or gear directly.
- Below, you will find core brewing concepts (brew ratio, extraction, bloom, channeling, TDS), links to deeper method-specific and gear guides, and practical troubleshooting with FAQs.
At a glance
Category Overview: Coffee Brewing Basics at Capitol City Coffee
Coffee brewing basics is the practice of understanding how water interacts with coffee grounds to produce a balanced, flavorful cup. This is a beginner’s guide – written for clarity, not jargon – and it sits within the /brewing/ hub as your starting point for learning to brew coffee at home.
Here is what you will find on this page:
- Core concepts: brew ratio, grind size, water temperature, contact time, bloom, and channeling
- An overview of the most common coffee brewing methods and how they differ
- Practical guidance on dialing in dose, yield, and time
- Troubleshooting sour, bitter, weak, or uneven brews
- Links to deeper method-by-method guides and gear recommendations
More detailed walkthroughs for specific brewing devices live under /brewing/methods/. This page gives you the foundation; those guides give you the recipes.
Affiliate & Independence Disclosure
Capitol City Coffee sometimes earns a commission when readers purchase through links on this site. That said, all coverage is independent editorial analysis – not pay-to-play.
Recommendations on this page are based on researched editorial review of expert sources, verified product specifications, and third-party consensus. We do not claim hands-on testing or personal ownership of every product mentioned. Commission size does not influence rankings or which brewers, grinders, or coffee beans appear. Our goal is to help you understand coffee brewing methods and make informed choices, not to push specific brands.
Key Brewing Concepts Every Beginner Should Know
Every brewing process – whether you use a simple drip coffee maker or a manual pour over – is governed by a handful of physical and chemical principles. Brewing great coffee relies on controlling grind size, water temperature, brew time, and coffee-to-water ratio. Understanding these concepts lets you diagnose problems and improve any cup.
Brew Ratio
Brew ratio is the mass of dry coffee grounds relative to the mass of water used. A standard starting coffee-to-water ratio is 1:16, meaning 1 gram of coffee for every 16 grams of water. Common ranges include:
- Drip coffee and pour over: 1:15 to 1:17. The Specialty Coffee Association recommends 2 tablespoons per 6 ounces of water, which lands near the SCA Golden Cup standard of roughly 55 g per liter.
- For French press, use a 1:14 coffee to water ratio for a fuller body.
- You can also use a 1:17 coffee to water ratio for lighter, cleaner drip brewing.
- Espresso strength coffee uses very concentrated ratios (dose-to-yield around 1:2).
Consistency in coffee ratios ensures replicable results – measure by weight when you can.
Grind Size
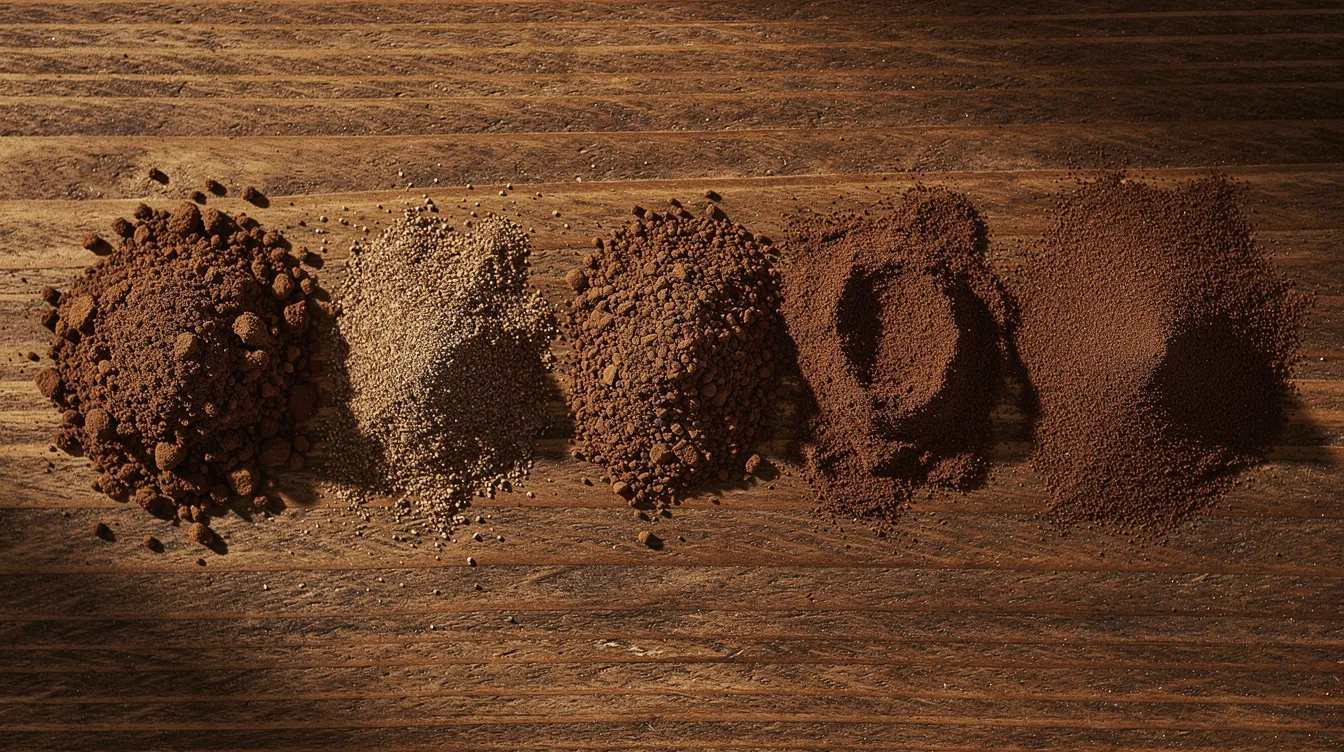
Grind size controls how fast water moves through coffee and how much surface area is exposed. Different brewing methods require matching grind size for optimal extraction:
- Coarse grind (texture like kosher salt): French press and cold brew
- Medium grind (like table salt): standard drip coffee machines
- Medium fine grind (between table salt and fine sand): pour over cones
- Finer grind (powdery, close to flour): espresso
Espresso requires finely ground coffee beans, while a coarse grind is needed for French press brewing. Grinding too fine can lead to bitter coffee because water over-extracts harsh compounds. A study on particle size distribution found that excessive fines (particles under 100 µm) slow flow and cause uneven, over-extracted flavors.
Contact Time
Contact time is how long water stays in contact with coffee grounds. Too short produces sour, thin coffee (under-extraction). Too long creates bitter, harsh flavors (over-extraction). Typical ranges:
- Pour over and drip: 2–5 minutes
- French press: 4–6 minutes
- Cold brew: 12–18 hours
- Espresso: 25–30 seconds
Extraction Strength and TDS
When you brew coffee, you dissolve soluble compounds from the grounds into water. The concentration of those dissolved solids in your final cup is called TDS (total dissolved solids). The SCA considers 1.15–1.55% TDS at 18–22% extraction yield to be the sweet spot for filter coffee. At home, you probably will not measure TDS with a refractometer. Instead, use taste: sour means under-extracted, bitter means over-extracted, and a balanced sweetness usually signals you are in range.
Bloom
Good coffee requires a bloom step when using manual brewing methods to enhance flavor. When hot water first hits fresh coffee grounds, trapped CO₂ escapes – you will see the bed puff up and bubble. This off gas phase is the bloom. It lasts about 30–45 seconds and ensures more even extraction by letting water fully saturate the grounds before the main pour. Fresher beans produce a more dramatic bloom.
Channeling
Channeling happens when water finds paths of least resistance through the coffee bed, particularly in espresso and pour over. Some grounds get over-extracted (bitter) while adjacent grounds stay under-extracted (sour). Common causes: uneven distribution of grounds, inconsistent grind with lots of fines and boulders, or erratic pouring.
The big four to remember: brew ratio, grind size, water temperature, and contact time. Adjust these systematically, and you will brew better coffee with any brewing device.
Coffee Beans, Roasts, and Freshness
Even perfect technique cannot fix stale or poor-quality beans. Understanding roast level and freshness is central to brewing fundamentals.
Coffee beans are actually seeds from coffee cherries, and each coffee tree produces about 2 pounds of coffee beans annually. Arabica beans are grown at high altitudes and are less bitter, making them popular for specialty coffee. Robusta beans are stronger and often used in espresso blends. Less common varieties include Excelsa beans, typically grown in Southeast Asia with a fruity taste, and Liberica beans, which have a floral aroma and are grown in the Philippines.
Roast Levels and Flavor
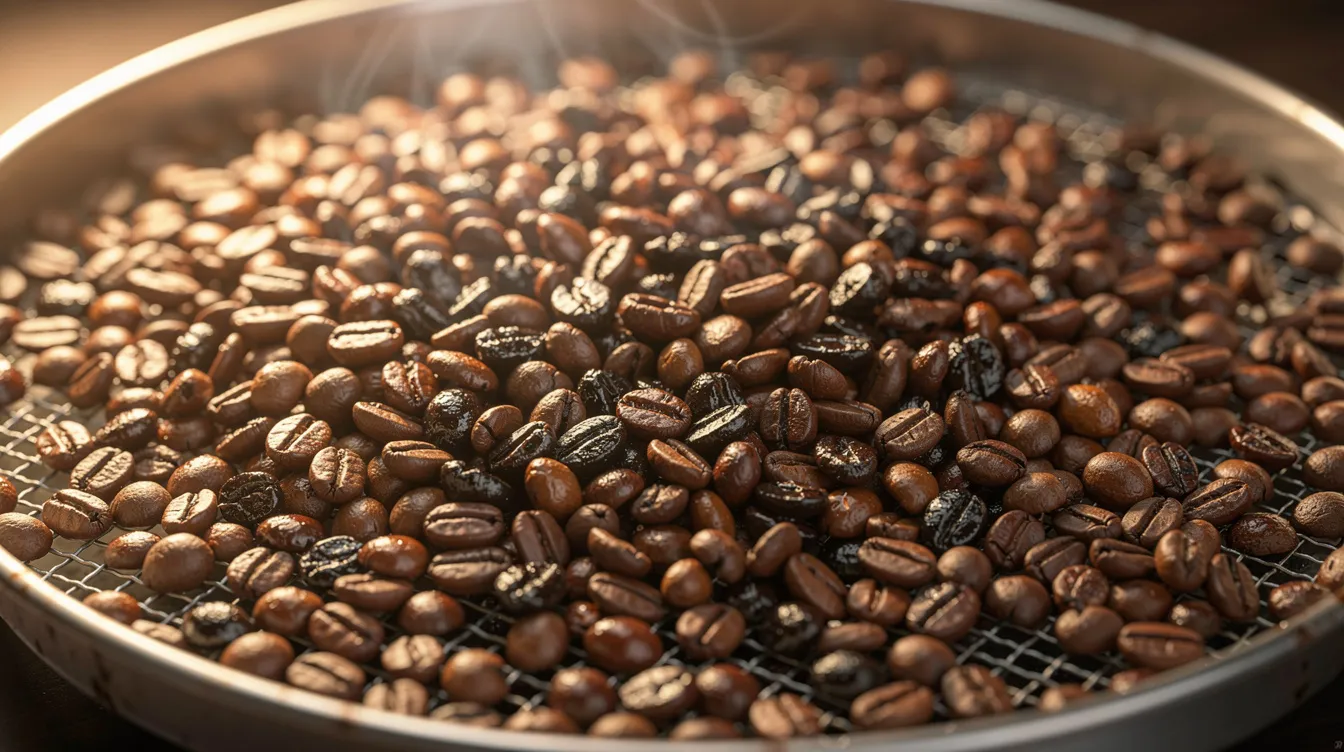
Roasting changes the flavor and aroma of coffee beans dramatically:
- Light roasts are more acidic than dark roasts, with brighter, fruitier flavor notes
- Medium roasts are less acidic and sweeter than light roasts, offering a balanced profile ideal for beginners
- Dark roasts have a smoky flavor and less acidity, producing a dark brown bean with bold, roasty character. Dark roasts often use lower-quality beans because the roasting process masks origin characteristics
Freshness Matters
After roasting, whole beans degas CO₂ heavily during the first 3–7 days, then enter a peak flavor window – often days 5 through 21 depending on roast level. After about a month, oxidation dulls aromatics.
Fresh coffee beans should be ground just before brewing for best flavor. Grinding exponentially increases surface area, which accelerates oxidation. Pre ground beans lose aromatics within minutes, compared to days or weeks for whole beans stored properly.
Buying guidance for beginners:
- Look for a “roasted on” date, not just a “best by” stamp
- Avoid bulk bins that expose beans to air, light, and temperature swings
- Start with a balanced medium roast from a reputable roaster with transparent origin info
- Visit the /coffee/ hub for deeper coverage on origins, processing methods, and how they influence your cup
Water Quality, Temperature, and Their Impact on Flavor
Coffee is about 98% water, making water quality crucial – some sources put it closer to 99% water, affecting overall flavor either way. This is not an advanced tweak; it is a core fundamental.
Water quality significantly impacts the taste of brewed coffee. Use clean, odor-free tap water or filtered water for better coffee taste. Hard water enhances coffee flavor extraction due to minerals like calcium and magnesium, while soft water lacks minerals, resulting in flat-tasting coffee. The Pentair/Everpure brewing guide suggests calcium hardness in the range of 50–175 ppm CaCO₃ for optimal flavor.
Temperature
Water temperature should be around 200°F for optimal extraction. More precisely, filtered water should be heated to 90°C to 96°C (195–205°F) for brewing. If you do not have a thermometer or a gooseneck kettle with temperature control, let the kettle rest about 30 seconds after water boils before you pour water over your grounds.
Pouring boiling water directly onto dark roasts can emphasize bitterness, while too-cool water under-extracts, producing a flat or sour cup. Cold brew is the temperature outlier: cold water or room-temperature water, very long contact time (12–18 hours), and a coarse grind balance the low extraction energy.
Consistency over perfection: pick one approach – say, filtered water plus a 30-second rest off boil – and keep it constant while you adjust grind and ratio. Switching water sources and temperatures at the same time makes troubleshooting impossible.
Core Coffee Brewing Methods: What to Start With and Why
This is a beginner’s overview of the main coffee brewing methods – focused on how each behaves in the cup rather than every possible device.
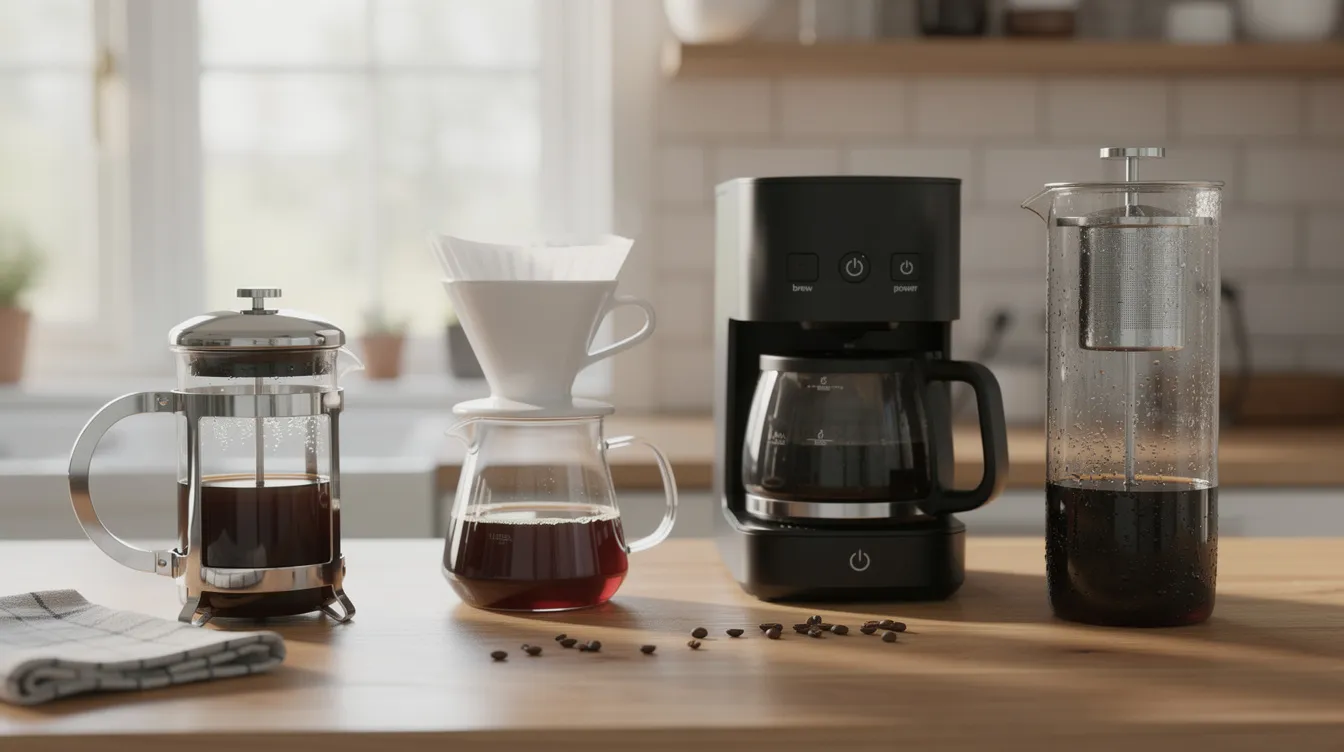
- Auto drip coffee makers: Drip brewing is the most common coffee-making method. Drip machines are convenient for batch brewing and consistent use. Medium grind is ideal for standard drip coffee machines. Brew time runs about 4–6 minutes. Drip coffee makers produce a clean, medium-bodied cup. Limitation: some cheaper models never reach proper brewing temperature.
- Manual pour over: Pour over brewing allows control over water pouring speed, water flow, and brew time for a clean cup with complex flavors. Use a medium fine grind and pour water slowly in concentric circles. A paper filter delivers bright clarity; a gooseneck kettle helps control flow. Brewing time is typically 2½–4½ minutes.
- French press (full immersion method): French press coffee uses coarsely ground beans soaked in hot water for 4–6 minutes. This full immersion method produces a robust cup with full body and rich mouthfeel. Less fussy about pour technique but expect more sediment.
- Cold brew: Cold brew coffee is made by steeping grounds in cold water for 12 to 24 hours. Cold brew coffee requires over 10 hours to brew but rewards patience with a smooth, low-acidity concentrate. Use a coarse grind and a higher coffee-to-water ratio, then dilute to taste.
- AeroPress: AeroPress is known for quick cleanup and smooth, low-acidity coffee. Versatile enough for different coffees – from espresso-like concentrate to a lighter cup.
- Espresso: Espresso is brewed using finely ground beans and high pressure (about 9 bars). Short contact time (~25–30 seconds), very fine grind, and an espresso machine make this the most advanced brewing method. Great for milk drinks and strong coffee, but not the easiest starting point.
Brewing methods include pour-over, French press, AeroPress, drip machine, and Moka pot. Any method can produce a superb cup and tasty coffee if you dial in the fundamentals. Explore step-by-step method guides on /brewing/methods/ when you are ready to go deeper.
Browse Brewing Fundamentals Guides
The following are editorial guide categories – not product ads – designed to help you build on the concepts above:
- Ratio and recipe fundamentals: Learn how much coffee to use for any batch size, how to scale recipes up or down, and why dose and yield interact. Ideal for new drip coffee users who want repeatable results with a basic drip coffee brewer.
- Grind size and troubleshooting guide: Understand the difference between a blade grinder and a burr grinder, how to identify when your grind is off, and how to fix weak or bitter cups. Covers entry-level burr grinders and their impact on consistency.
- Water and temperature basics: A practical walkthrough of water quality, temperature targets, and how switching from unfiltered tap water to filtered water can change your cup immediately.
Use descriptive anchors when navigating: look for “ratio and recipe fundamentals” or “troubleshooting weak or bitter coffee” rather than generic links.
Featured Methods and Gear: Researched Editorial Picks
Capitol City Coffee does not sell gear. Any recommended coffee brewer or accessory mentioned here is selected through researched editorial analysis of specifications and third-party expert consensus – not hands-on testing unless explicitly noted.
- Auto drip coffee makers: Look for models verified to reach 195–205°F brewing temperature. Key factors: thermal carafe vs hot plate, batch capacity, and showerhead design for even saturation. Limitation: most budget models under-heat.
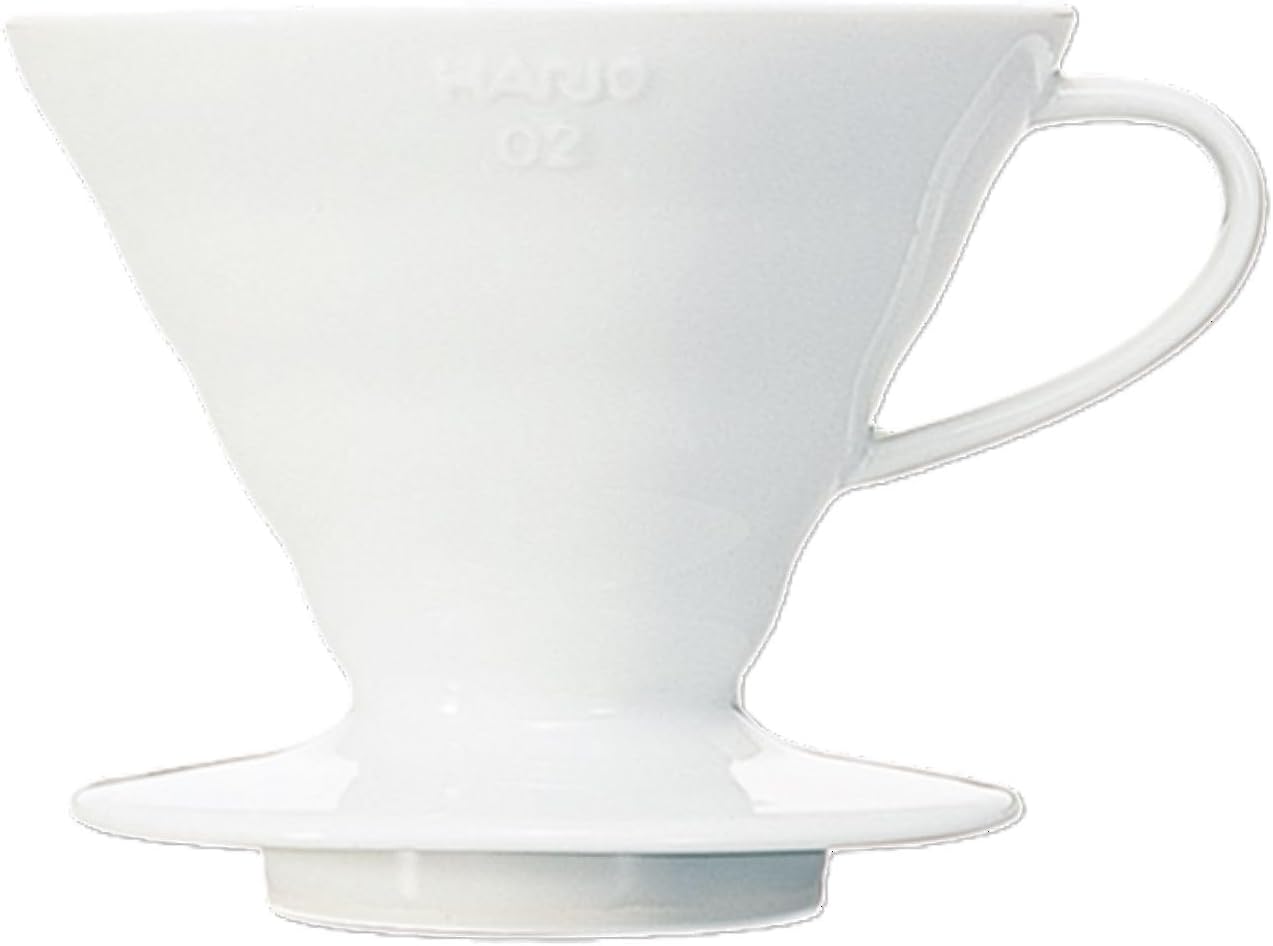
- Beginner pour-over setup: A ceramic or plastic cone dripper, paper filters, and a gooseneck kettle. The upper chamber holds the filter and grounds; water flow is entirely in your hands. Low cost, high learning value.
- French press: Glass or stainless steel, 32 oz capacity for two servings. Virtually no learning curve. Limitation: sediment in the final cup and oilier body.
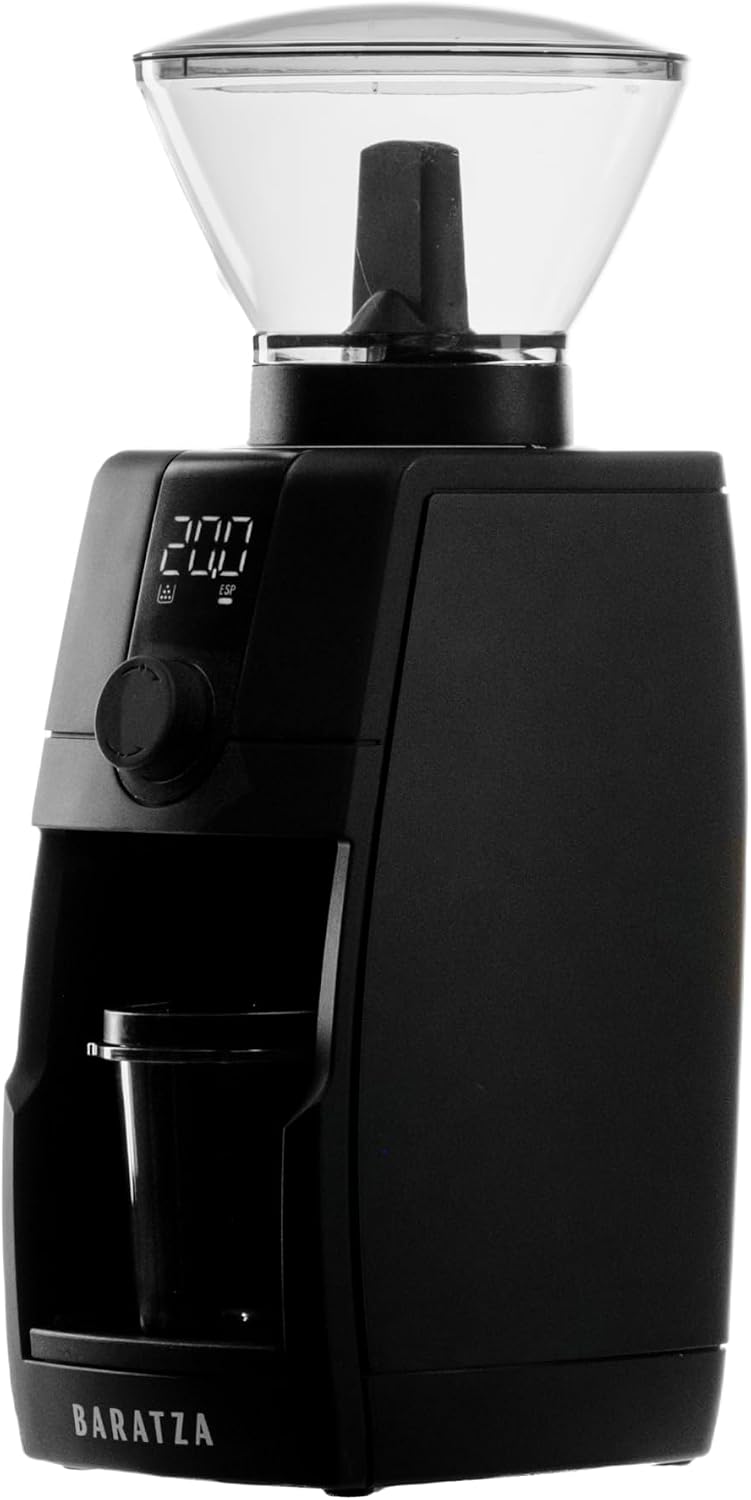
- Grinders: Burr grinders produce more consistent coffee grounds than blade grinders. A blade grinder chops unevenly, creating a mix of fines and boulders that leads to uneven extraction. An entry-level conical burr grinder is one of the best investments for anyone serious about coffee flavor.
Visit /gear/ for deeper reviews on grinders, kettles, and brewers beyond these fundamentals.
Dialing In Your Brew: Ratio, Dose, Yield, and Time
“Dialing in” means making methodical, one-variable-at-a-time adjustments to go from an okay cup to a consistently good cup. Using a digital kitchen scale ensures precision in measuring coffee and water.
Dose is how much dry coffee you use. Yield is how much brewed coffee ends up in your mug. Changing one without adjusting the other shifts strength and balance.
Starting Points
- Single-cup pour over: 15–18 grams of coffee to 250–300 grams of water (~1:16)
- Drip batch: about 60 grams of coffee per liter of water
- Cold brew concentrate: 1:7 to 1:9 coffee-to-water, diluted after brewing
- As a rough volume guide, 1 tablespoon of coffee equals about 4 ounces of water
How to Adjust
Keep water amount and water temperature constant. Change grind size first: a finer grind slows flow and increases extraction for a stronger flavor, while a coarser grind speeds flow for a lighter cup. Shorter contact time needs a finer grind for the same extraction, while longer immersion needs a coarser grind to avoid bitterness.
Home brewers can use taste cues instead of TDS measurements. Thin and sour? Try a finer grind or more coffee. Syrupy and bitter? Go coarser or reduce dose.
Keep a simple brew log – date, own beans used, ratio, grind setting, impressions – to track what works. It is a low-tech way to find your favorite coffee recipe and replicate every good cup.
Troubleshooting Common Brewing Problems
Even experienced coffee enthusiasts occasionally brew coffee that tastes off. Systematic fixes almost always solve it before new equipment does.
- Sour or sharp: Likely under-extracted. Try a finer grind, hotter water, or longer contact time. Check that your coffee brewer reaches at least 195°F.
- Bitter or harsh: Likely over-extracted. Coarsen the grind, lower temperature slightly, or shorten brewing time. Especially common with dark roasts and very fine grinds.
- Weak or watery: Too little coffee or too coarse a grind. Increase dose or grind finer. Make sure your brew ratio is at least 1:17 or tighter.
- Uneven extraction / channeling: In pour over, check for a mounded coffee bed or erratic pouring. In drip coffee makers, a clogged or mis-sized paper filter can create dry spots. In espresso, inconsistent grind distribution causes fast channels alongside stagnant zones.
- Hardware issues: Auto drip brewers that never reach proper brewing temperature produce flat, under-extracted drip coffee. Worn burrs in grinders produce a wide particle spread – both fines and boulders – that makes consistent extraction nearly impossible.
Try simple, low-cost fixes first: adjust one grind notch, verify water temperature with a basic thermometer, or tweak brew ratio before buying new equipment. Method-specific troubleshooting charts live in individual /brewing/methods/ guides.
How Capitol City Coffee Researches Brewing Recommendations
Capitol City Coffee operates as an independent coffee editorial and affiliate publication. Our focus is trustworthy brewing advice, not selling our own coffee or gear.
Unless explicitly labeled otherwise, coverage is based on researched editorial analysis: synthesizing expert barista guides, industry standards such as SCA brew parameters, manufacturer specifications, and broad user consensus. We do not claim hands-on testing or long-term use of every product mentioned. Where hands-on testing exists, it will be clearly labeled.
Evaluation criteria include: verified brewing temperatures, consistency of extraction, durability, ease of cleaning, learning curve, and value at commonly available US prices. No manufacturer can pay for favorable placement in the /brewing/ hub. Use our /gear/ and /coffee/ sections as starting points, but always combine that research with your own taste and budget.
FAQs: Coffee Brewing Basics
These FAQs address common beginner questions not fully covered in the main sections above.
What is the single most important change I can make to brew better coffee at home?
For most people starting from basic grocery-store coffee and a drip brewer, the biggest upgrade is switching to freshly roasted whole beans and grinding just before you make coffee. This single change improves aroma, sweetness, and clarity more than any temperature tweak or accessory upgrade, because it addresses freshness and grind consistency simultaneously. Pair it with a simple, consistent brew ratio – 1:16 by weight – as a foundational habit, and you are already ahead of most home brewers. You do not need to drink coffee from a $300 setup to notice the difference.
Do I really need a scale to follow these brewing fundamentals?
A digital scale makes it easier to control brew ratio, dose, and yield, but beginners can start with volume measurements and still get a good cup. As a rough guide, 1 level tablespoon of medium-ground coffee is roughly 5–6 grams, though density varies by roast level and grind. Anyone who enjoys brewing coffee long-term should consider a basic gram scale – typically under $15 – as one of the best low-cost investments for consistency.
How long should I let coffee sit after brewing before drinking?
Brewed coffee is ready as soon as it is cool enough. Flavors are often easiest to judge between about 135–150°F (57–66°C), where you can taste acidity, sweetness, and body clearly. Leaving fresh coffee on a hot plate longer than 20–30 minutes leads to flat, bitter flavors from ongoing oxidation. Use an insulated carafe or travel mug to keep your cup warm without cooking it.
Is dark roast better for beginners who want “strong” coffee?
“Strong” can mean more concentrated (higher dose, tighter ratio) or more intensely roasted flavors. Dark roasts deliver smoky, roasty character but can turn bitter quickly if over-extracted, and they tend to mask the same beans’ origin nuance. A medium or medium-dark roast gives beginners a more forgiving platform to learn how dose and ratio control perceived strength. Once comfortable with the basics, explore lighter or darker ends of the spectrum to find your best flavor.
What’s the difference between cold brew and iced coffee in terms of brewing basics?
Iced coffee is hot-brewed coffee – using standard ratios and temperatures – that is cooled and poured over ice, preserving most of the acidity and volatile aromatics of a regular hot cup. Cold brew trades high temperature for very long contact time: coarse grounds steeped in cold or room-temperature water for 12–18 hours, producing a concentrate later diluted. Research from Thomas Jefferson University found that cold brew can reach caffeine equilibrium in as few as 6–7 hours, challenging traditional 24-hour steep recommendations. The result is typically a smoother, less acidic cup that can be stored in the fridge for several days. The brewing fundamentals differ – but ratio, grind, and time still govern the outcome.
The perfect cup does not require perfect gear – it requires understanding these fundamentals and applying them consistently. Start with one change: fresh whole beans, a matched grind, or a measured ratio. Track what you like, adjust one variable at a time, and you will be brewing different coffees with real confidence in no time. Happy brewing.