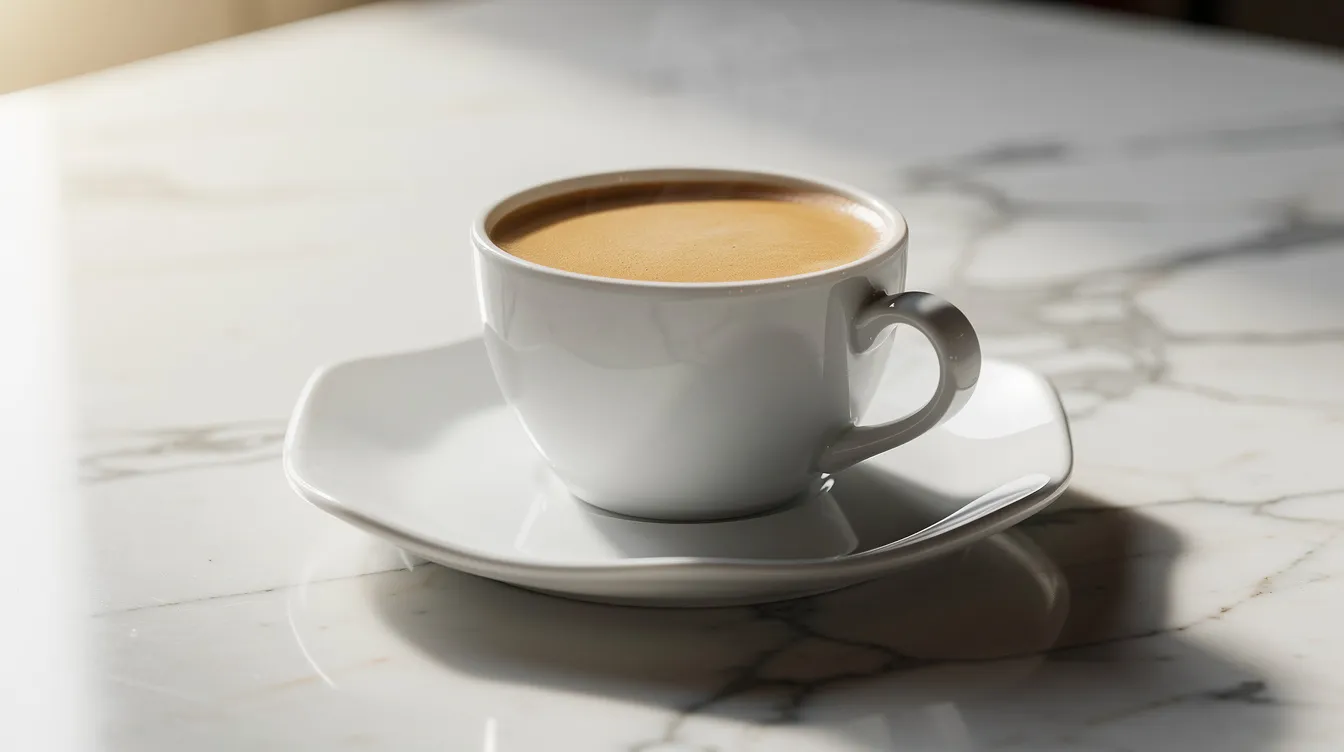
A moka pot brews concentrated, full-bodied coffee using steam pressure to push hot water through a bed of ground coffee. To use a moka pot, fill the bottom chamber with hot water, load the filter basket with medium fine grind coffee (without tamping), place it on the stove over medium low heat, and remove it once the coffee stream begins to sputter. The whole process takes about 3–4 minutes with preheated water, and the result is a rich, intense cup of coffee that works beautifully on its own or as a base for milk drinks.
Best the pot pick
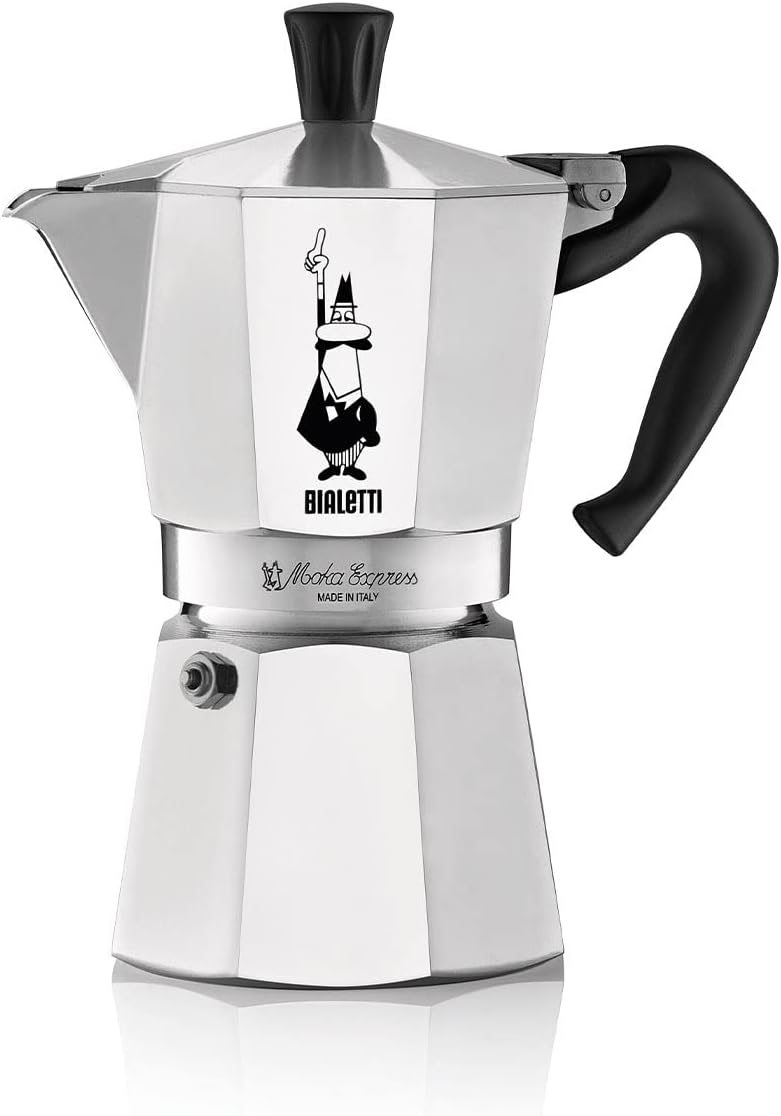
For this roundup, Bialetti Moka Express is the the pot we recommend first—the same pick at the top of our At-a-glance cards below.
Fill the lower chamber with hot water to just below the safety valve, add medium-fine ground coffee to the filter basket without tamping, and brew on medium low heat for about 3–5 minutes until you hear a gurgling sound.
Moka pot coffee is strong and concentrated but not true espresso; it produces espresso-style coffee at roughly 1–2 bar of pressure versus the 9 bar of espresso machines.
The ideal grind size sits between espresso and drip – roughly the texture of table salt. Too fine causes bitterness and clogging; too coarse yields weak, sour results.
A moka pot cup is about 2 ounces, not a standard 8–12 ounce mug, so plan your dose and expectations accordingly.
Moka pots are affordable, durable coffee makers that deliver excellent value for anyone who wants a fresh cup of rich stovetop coffee at home or while traveling.
Direct Answer: How to Use a Moka Pot (Step-by-Step in Brief)
To use a moka pot, you fill the bottom chamber with hot water, load the coffee basket with freshly ground coffee at a medium fine grind, assemble the brewer, and place it on the stove. Within a few minutes, steam pressure pushes water through the coffee grounds and into the upper chamber, producing a small, strong brew ready to pour into your mug.
Fill the bottom chamber with hot water up to just below the safety valve. Using water that is already near boiling, around 100°C, reduces brewing time and keeps the brewing temperature steadier to help prevent bitterness from prolonged heat exposure.
Fill the filter basket fully with medium-fine ground coffee. Level it off with your finger or a flat edge – do not tamp the coffee grounds in the filter basket, as excess pressure can cause sputtering and uneven extraction.
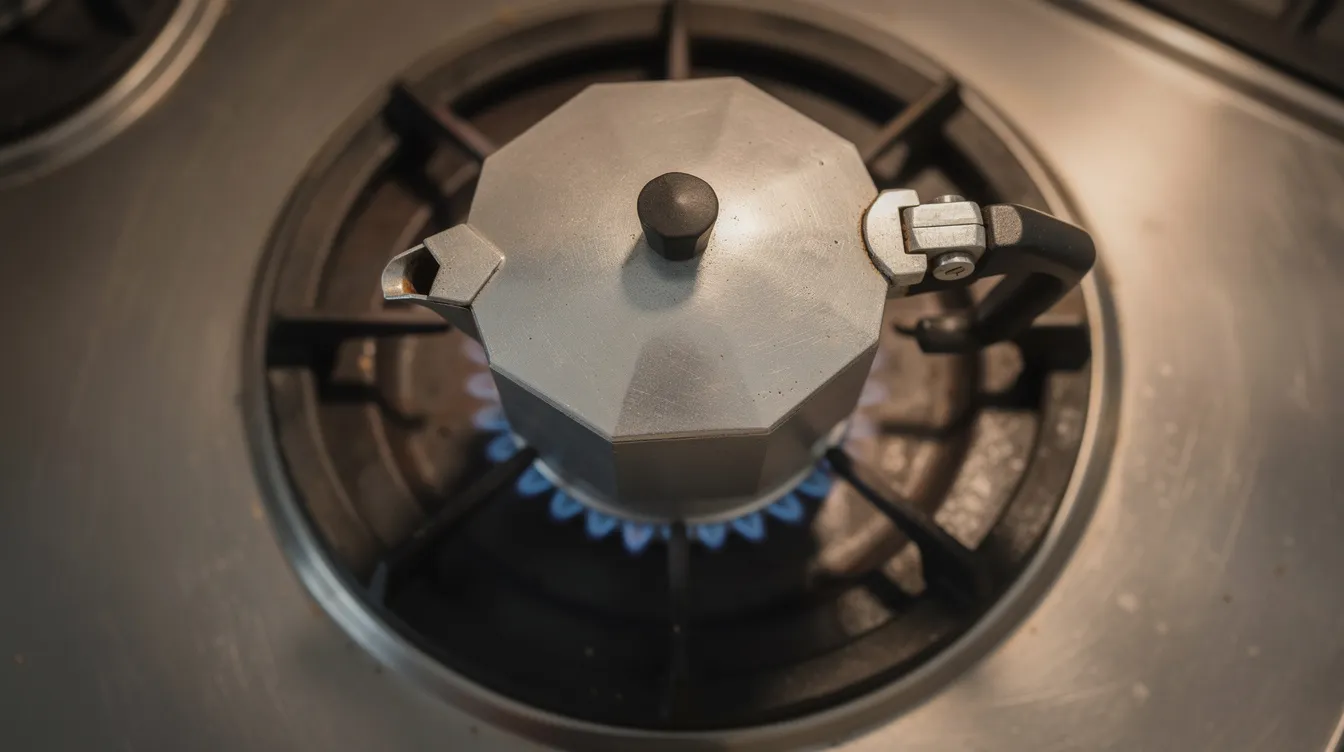
Assemble the moka pot firmly, place it on medium to medium low heat, and keep the lid open so you can watch the coffee stream as it flows into the top chamber.
Monitor the coffee’s extraction visually. Once a steady stream of dark moka pot coffee turns to a lighter, sputtering flow, remove the brewer from heat immediately. Coffee should be removed from heat immediately upon hearing a gurgling sound.
Stir the coffee in the upper chamber gently to blend the stronger early fractions with the weaker later ones. Pour into a cup, and dilute with hot water for an Americano-style drink or add steamed milk for cappuccinos or a faux latte.
What You Need to Brew Coffee in a Moka Pot
Before you start brewing coffee, gather your gear and ingredients. Here is a concise checklist for a typical 3-cup or 6-cup setup.
A moka pot in your preferred size. A 3-cup model yields about 5–6 fl oz (roughly 130 ml), while a 6-cup produces around 9–10 fl oz (270 ml). Remember, these are measured in small moka “cups”, not standard American mugs.
Freshly roasted coffee beans or high-quality pre-ground coffee. Medium and medium-dark roasts are ideal for moka pots – they deliver sweetness, body, and forgiving extraction across a range of variables.
Grind size matters: aim for medium-fine, roughly the texture of table salt. Medium-fine grind is coarser than espresso but finer than drip coffee. Avoid anything powdery like Turkish grind.
Soft, filtered water to reduce limescale buildup and preserve flavor clarity. This also protects the valve and internal surfaces over time.
Optional but helpful tools: a burr grinder for consistent particle size, a small digital scale (accurate to 0.1 g) for precise dosing, a kettle for preheating water, and a kitchen timer.
Your stove. Gas ranges, electric coil stoves, and induction-compatible moka pots all work. If your pot is aluminum and your stove is induction, you will need a small interface plate.
Coffee, Water & Grind Parameters for Moka Pot Coffee
Moka pots work best when you dial in consistent brew ratios, grind size, and contact time. Treat these numbers as a starting point, then adjust to your taste.
Use a brew ratio of roughly 1:7 to 1:9 coffee-to-water by weight. For a 3-cup pot, that means about 15–18 g of coffee to 130–150 g of water. For a 6-cup, scale to roughly 22–28 g of coffee. Use 1 to 2 tablespoons of coffee per 3 ounces of water as a simpler reference.
The best grind size for a moka pot is medium-fine. Individual particles should be visible and free-flowing, not clumping together like espresso grounds. Coffee that is too coarse produces weak, under-extracted brew because water passes through too quickly. Coffee that is too fine can clog the filter and create bitterness from excessive resistance and extended contact time.
Freshly ground coffee enhances flavor and aroma in moka pots. If you prefer pre-ground, look for bags labeled “moka” or “stovetop espresso” rather than standard drip grind.
Using hot water in the bottom chamber – near boiling, around 200–205°F (93–96°C) – reduces brewing time and prevents bitterness caused by grounds sitting over dry heat for too long. This technique also tends to improve sweetness in the final cup.
Filtration is purely mechanical: a metal filter plus the basket. No paper involved. This means moka pot coffee carries more oils and body than paper-filtered pour-over, producing a fuller mouthfeel and a more intense cup profile.
Step-by-Step Guide: How to Use a Moka Pot
This is the detailed step by step guide, with practical tips for anyone learning how to use a moka pot for the first time. Follow each step in order for the best results.
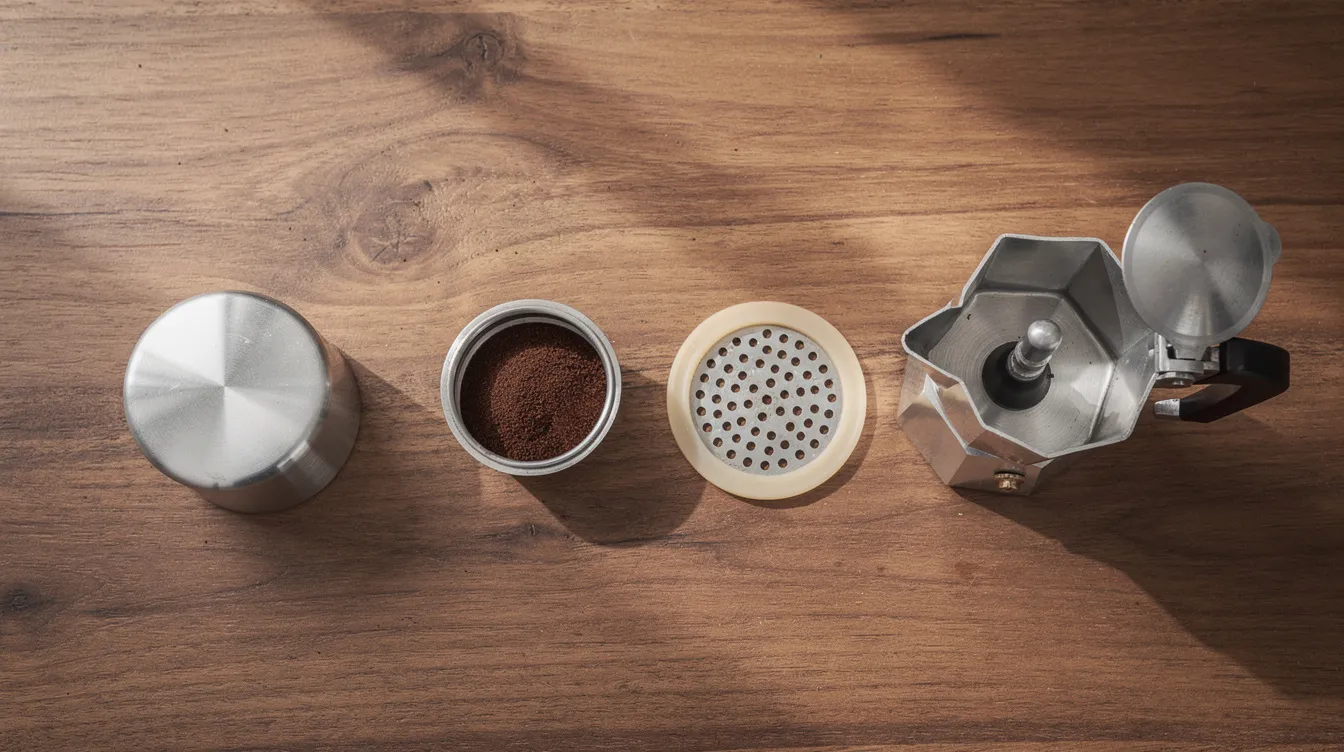
Step 1 – Inspect the pot. Disassemble the moka pot. Check the rubber gasket for cracks or flattening, confirm the metal filter screen is clean and flat, and make sure the safety valve is unobstructed.
Step 2 – Heat the water. Boil filtered water in a kettle, then let it sit for about 30 seconds to reach roughly 200–205°F. Starting with hot water limits how long the coffee grounds are exposed to dry heat before extraction begins.
Step 3 – Fill the lower chamber. Pour warm water into the bottom chamber up to just below the safety valve line. Overfilling can interfere with pressure regulation and may cause excess pressure to vent prematurely. Never cover the valve with water.
Step 4 – Prepare the filter basket. Fill the coffee basket evenly with medium-fine ground coffee until level with the rim. Shake or gently tap the side to settle the grounds. Do not tamp – compressing the bed creates too much resistance and can produce bitter, over-extracted coffee.
Step 5 – Assemble. Place the loaded basket into the bottom chamber. Wipe any stray grounds from the rim (they compromise the seal). Screw on the upper chamber firmly, using a towel if the metal is hot.
Step 6 – Set on the stove. Place the pot on a small burner over medium low heat. Center the base and orient the handle away from the flame or hot coils. Too much heat will scorch the brew; moka pots operate best on medium-low heat to prevent burning the coffee.
Step 7 – Watch the brew. After 1–3 minutes, coffee will begin to flow into the upper chamber. Keep the lid open and watch for a smooth, honey-like stream of dark coffee that gradually lightens. Monitor the coffee’s extraction visually when brewing to achieve ideal results.
Step 8 – Control contact time. Moka pot coffee brewing takes approximately 3–6 minutes, depending on heat source and pot size. Brewing time for a standard moka pot is typically 3–4 minutes with preheated water. Once the stream turns pale and begins to sputter, remove the pot from heat. Control the heat to avoid over-extraction and bitterness.
Step 9 – Cool the base. Wrap the bottom in a cool, damp towel or run it briefly under cold water. This halts extraction and prevents residual steam from pushing bitter compounds into your cup.
Step 10 – Stir and serve. Stir the coffee in the top chamber to blend the flavor evenly, then pour into a pre-warmed cup or mug. Add hot water for an Americano, or pour steamed milk for a latte-style drink.
What Good Moka Pot Coffee Should Taste and Look Like
Good moka pot coffee is strong, concentrated, and aromatic – somewhere between a full-bodied drip brew and a shot from an espresso machine. It will not have thick crema, but you may see a thin layer of light tan foam on the surface.
Visually, the brewed coffee should be deep brown. No obvious sediment chunks or cloudy sludge in the cup.
The aroma should carry pronounced roasted notes – chocolate, nuts, caramel with medium and medium-dark roasts. Lighter specialty coffee beans can bring fruit or floral notes through the metal filter.
Flavor should land as balanced sweetness with pleasant bitterness, low to moderate acidity, and a syrupy or velvety mouthfeel. Harsh bitterness, metallic notes, or strong ashiness signal issues with grind, heat, or cleaning.
Moka pots do not create true espresso but yield espresso-style coffee. The lower pressure (roughly 1–2 bar versus 9 bar) means a different extraction dynamic, but the result is still rich and satisfying, whether you drink it straight or dilute it.
The metal body retains heat well, so coffee comes out very hot. Let it cool for a minute in your cup to better perceive the full range of flavor.
Troubleshooting & Common Moka Pot Mistakes
Most moka pot problems trace back to grind size, heat, or maintenance. Here is how to diagnose and fix the most common issues.
Bitter, burnt-tasting coffee: Grind is likely too fine, heat is too high, or you left the pot on the stove too long. Switch to a slightly coarser grind, reduce to medium low heat, and pull the pot off the moment you hear sputtering.
Sour, weak, or watery coffee: Grind is too coarse, the basket is under-filled, or you removed the pot too early. Use a finer grind (but not espresso-fine), confirm the filter basket is fully loaded, and let the brew complete its cycle.
Violent sputtering or spitting: The grind may be too fine, the basket may be tamped or overfilled, or the safety valve is partially blocked. Check each variable and clean the valve.
Leaks around the middle seam: Inspect the rubber gasket for cracks or flattening. Remove any stray coffee grounds from the rim. Tighten firmly but do not use excessive force, which can warp the thread.
Incomplete brew (little coffee in top): Verify water level in the bottom chamber, confirm heat is sufficient, and make sure the filter basket and chimney are properly seated.
Metallic or off flavors in a new pot: Run two or three water-only cycles through the pot, then brew and discard a couple of batches of coffee before preparing your first drinkable cup. This seasons the pot and removes manufacturing residues.
Staining on aluminum: Normal over time and does not harm performance. Keep the interior clean and let it dry completely between uses. Replace the gasket and filter screen every few months if you brew daily.
Cleaning, Materials & Long-Term Care
Proper cleaning and understanding your moka pot’s materials are critical for keeping flavor clean and the brewer functional for years.
Clean your moka pot after every use. Once the pot has cooled, disassemble all parts, discard the spent coffee puck, and rinse the chambers, filter basket, and metal filter with warm water. Used coffee should not be left sitting in the moka pot after brewing – it causes staining and stale off-flavors.
Avoid detergent when possible. Soap can cling to aluminum surfaces and carry over into future brews. If you do use mild soap, rinse thoroughly. Never place moka pots in a dishwasher – the harsh detergent and high heat can damage the finish and gasket.
After washing, towel-dry all parts, then let them air-dry with the pot disassembled or the top slightly open. Store the moka pot loosely assembled to promote airflow and prevent trapped moisture, odors, and corrosion.
Classic moka pots are aluminum: lightweight, fast-heating, and iconic. Stainless steel models are more durable, corrosion-resistant, and often induction-friendly, though heavier and typically pricier.
Inspect the rubber gasket regularly for wear. A flattened, cracked, or stained gasket causes leaks and uneven brewing. Replace it – along with the filter screen – every few months on a daily-use pot.
If you have hard water, descale occasionally with a mild citric acid solution, then rinse multiple times before your next brew.
Regular cleaning of a moka pot is essential to maintain flavor and function. A well-maintained pot can last a decade or more, offering durability and value that most electric coffee makers cannot match.
Recommended Beans for Moka Pot Coffee (Editorial Analysis)
This section includes researched editorial recommendations. If you buy through our links, Capitol City Coffee may earn a commission, which never affects how we rank or review products.
These picks are chosen for flavor profile, roast style, U.S. availability, and how well they fit moka pot brewing – not based on affiliate payouts. All flavor descriptions rely on roaster notes and widely reported third-party consensus, not in-house tasting.
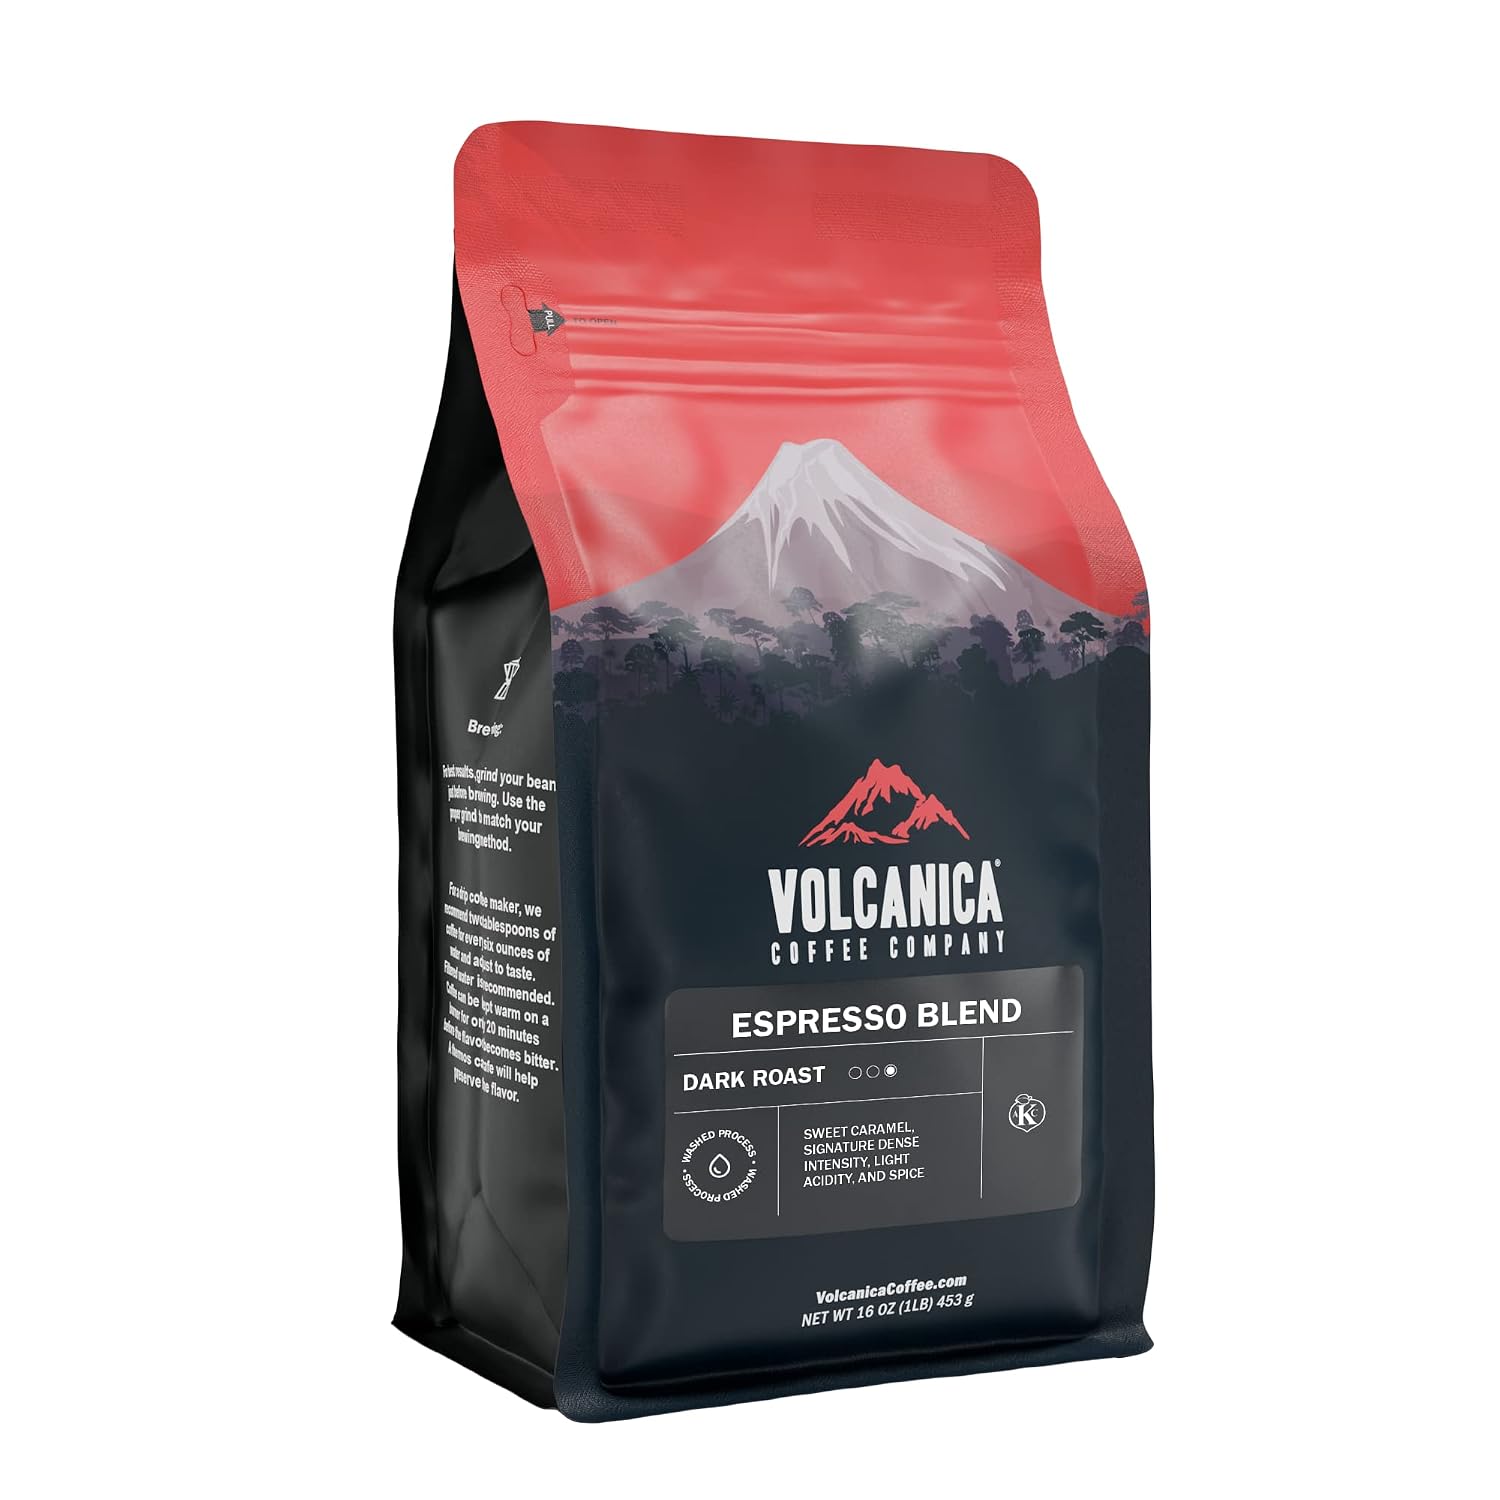
A balanced medium roast blend with notes of milk chocolate, toasted nuts, and gentle red fruit works exceptionally well. Medium roasts preserve enough acidity and origin character to keep the cup interesting while delivering the sweetness and body that moka pots extract so well. Look for roast dates within the past 2–4 weeks and expect to pay $12–$18 per 12 oz bag from reputable U.S. roasters.
A medium-dark roast with deeper flavors – dark chocolate, caramel, light smokiness – delivers the “classic Italian-style” moka cup that stands up to milk. If you prefer cappuccinos or lattes, this roast level is a strong starting point. Drawback: the darker profile can mask origin-specific nuance.
A washed Colombian or Brazilian single-origin for readers who prefer cleaner, more defined flavors. Colombian coffees often translate through the moka pot’s metal filtration with bright citrus and caramel; Brazilians tend toward nutty, low-acid, chocolatey cups. Both are widely available and typically $14–$20 per 12 oz bag.
Whenever possible, buy whole bean and grind fresh. If you do not own a grinder, look for roasters that offer a moka-specific or “stovetop espresso” grind option.
This section highlights well-regarded moka pots and support gear based on verified specs, expert consensus, and owner reviews. These are researched editorial picks, not first-hand tested.
Classic aluminum moka pot (e.g., Bialetti Moka Express): Available in 1-, 3-, 6-, and 9-cup sizes. The iconic octagonal design, invented in 1933, heats quickly, is lightweight, and typically costs $25–$40. Limitations: not compatible with induction stoves without an adapter plate, and aluminum requires hand washing to avoid oxidation. Durability is excellent when you wash it properly and let it dry completely.
Stainless steel moka pot: Corrosion-resistant, often induction-friendly, and easier to clean. Slightly heavier with marginally different heat retention. Expect to pay $35–$60 depending on size. A solid choice for a person who values low-maintenance gear or uses an induction cooktop.
Entry-level burr grinder: Look for a grinder with stepped settings that cover the medium-fine range. Consistent particle distribution is the single biggest upgrade you can make if you are currently using pre-ground coffee from a blade grinder. Budget around $50–$100 for a capable home model.
Compact digital scale: A scale accurate to 0.1 g lets you measure both coffee and water precisely for repeatable brew ratios. Small footprint, fast response, and typically under $20.
Accessories: A narrow-spout kettle makes filling the bottom chamber with boiling water safer. A soft brush helps clear coffee residue from the basket. Replacement gasket and filter kits (usually $5–$8) are essential spares for any moka pot owner.
Moka pots are among the most affordable brewers you can buy, and they pair well alongside methods like French press and pour-over for different cup profiles and daily variety.
FAQs About Using a Moka Pot
These questions cover practical topics not fully addressed above, especially around first-time use, safety, and comparing moka pots with other brewing methods.
Do I need to season a new moka pot before brewing coffee?
Yes. Wash all parts with warm water, then run two or three water-only brew cycles. Follow those with one or two full coffee brews that you discard. This removes manufacturing residues and any metallic taste, especially in aluminum models. After seasoning, your first drinkable batch should taste clean.
Can I use supermarket pre-ground coffee in a moka pot?
You can, but standard “drip” grind is usually slightly too coarse for a moka pot, which can produce a weak, under-extracted brew. Look for bags labeled “espresso” or “moka” grind for better results. Freshly ground coffee from a burr grinder at a medium-fine setting will always produce a more delicious coffee with better aroma.
Is moka pot coffee the same as espresso?
No. Moka pots operate at roughly 1–2 bar of pressure, while espresso machines use about 9 bar. The result is a strong, concentrated cup without the thick crema or the same texture as true espresso. That said, moka pot coffee still makes an excellent base for milk drinks and is far more accessible than most espresso machines in terms of cost and complexity.
What does the safety valve on my moka pot do?
The safety valve is a pressure-relief mechanism on the lower chamber. If pressure builds beyond safe levels – from overfilling, using too fine a grind, or a blocked filter – the valve vents excess pressure to prevent a dangerous situation. Never fill water above it, and keep it clean and unobstructed. Inspect it periodically as part of routine maintenance.
Can I leave leftover moka pot coffee in the brewer?
It is best not to. Leaving brewed coffee sitting in the pot leads to flavor degradation, staining, and can even produce off-flavors in your next brew. Pour any leftover coffee into a separate mug or small carafe. Then disassemble and rinse the pot so it is ready for next time.
Final Check & Next Steps
Start with the recipe and parameters in this guide, then experiment. Adjust grind size half a step finer or coarser, shift your brew ratio, or try pulling the pot off heat a few seconds earlier. Small changes produce noticeable differences in your cup of coffee.
A moka pot is a durable, high-value brewer that, with simple cleaning and decent coffee beans, can deliver a rich, full bodied cup every morning for years – no espresso machine required.
How Capitol City Coffee Rates Coffee and Coffee Machines
Every coffee and coffee machine we recommend is scored on the same 100-point scale, so a recommendation on one page means the same thing as a recommendation on any other. Each pick is also labeled with how we reached its score.
Research-ratedScored from the roaster or manufacturer’s published specifications, independent results such as Coffee Review blind cuppings and SCA brewer certification, and patterns across verified buyer reviews. Most of our current picks are research-rated.
Hands-on testedThe Capitol City Coffee team has brewed the coffee or used the machine ourselves, following the testing steps below. We only use this label when that testing actually happened, and we show the date we tested.
Coffee beans: 100-point scale
What we score
Points
What we look at
Origin and sourcing transparency
20
Country, region, farm or cooperative, altitude, bean variety, and processing method are clearly disclosed.
Flavor evidence
25
Independent cupping scores, how closely the tasting notes match what the origin is known for, and our own cupping notes when hands-on tested.
Roast and freshness
15
Roast level stated, roast-date practices, whole-bean availability, and packaging with a one-way valve or resealable bag.
Brew versatility
15
How well the roast suits pour-over, drip, French press, cold brew, and espresso.
Value
15
Price per ounce compared with similar single-origin coffees or blends.
Buyer feedback
10
Volume and consistency of verified reviews, and recurring complaints about staleness, bitterness, or shipping.
Coffee machines and gear: 100-point scale
What we score
Points
What we look at
Brewing performance
25
Water temperature in the 195–205°F range, even extraction, and SCA certification or published test data.
Build quality and reliability
20
Materials, known failure points, and long-term owner reports.
Ease of use and cleaning
15
Setup, the daily routine, descaling, and dishwasher-safe parts.
Fit for your kitchen
10
Capacity, counter footprint, and noise.
Useful features
10
Programming, grind and temperature control, and carafe type. Features that improve the cup count more than extras that do not.
Value
10
Price compared with machines that perform similarly.
Warranty and support
10
Warranty length, parts availability, and how the brand handles repairs.
What the grades mean
Score
Grade
What it means
90–100
A
Exceptional. Our first recommendation for the feeling and setting described.
80–89
B
Strong. Excellent, with minor trade-offs we explain.
70–79
C
Good. Worth it for specific needs, with clear compromises.
Below 70
—
Not recommended. We do not feature these as picks.
How we test hands-on
When a pick carries the Hands-on tested label, this is the method behind it, and we note the date we tested.
Coffee: brewed fresh from whole beans following Specialty Coffee Association guidelines (water between 195 and 205°F, about 1 gram of coffee to every 15 to 18 grams of water) in the brew methods the roast suits best, such as pour-over, French press, or espresso. We taste it black first, then with milk if that is how most people drink it, and each taster scores it on their own before we compare notes.
Machines: used in our everyday routine rather than a single demo. We brew both full and small batches, check the brewing temperature and brew time, and run the cleaning or descaling steps the manual calls for.
How we choose the feeling and setting
We match each coffee to a mood and a moment based on its flavor profile and roast. Bright, citrusy light roasts suit energizing mornings. Chocolatey, full-bodied medium roasts suit slow or social moments. Richer roasts suit espresso and milk drinks. Each pick explains which facts led us to that match.
Our scores stay independent
Every score comes only from the criteria above. No brand can pay for a pick or a higher grade. We re-check ratings when a roast, listing, or model changes, and update or remove picks that no longer earn their grade.
Some links on this page are affiliate links. As an Amazon Associate, Capitol City Coffee earns from qualifying purchases, at no extra cost to you.
Questions about a rating? Reach the Capitol City Coffee team through our contact page.